

Starting with machine stitching can feel a bit hard at first. Many people think it is only about pressing a button and letting the machine do the work. But that is not true. Good results start long before the machine runs. The real magic happens when you prepare your artwork in the right way. If your design is clean and simple, your stitches will look smooth and neat.
In this guide, you will learn step by step how to get your artwork ready for stitching. You do not need to be an expert. You just need to follow simple steps and practice a little.
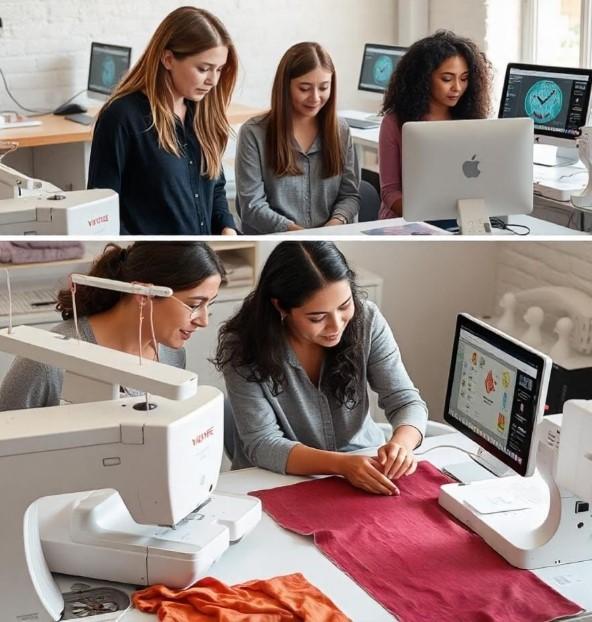
In fact, many beginners start by learning basic design prep before they move to tools like Digitize Artwork for Embroidery because it helps them understand how a flat image turns into thread on fabric.
This guide will keep things very simple. No hard words. No confusion. Just clear and useful steps you can follow.
Why Preparing Artwork Matters
Before we go deep, let’s talk about why this step is so important.
If your artwork is messy, the final stitch will also look messy. The machine does not “fix” bad designs. It only follows what you give it.
Good prep helps you:
-
Get clean stitch lines
-
Avoid thread breaks
-
Save time and fabric
-
Make designs look more professional
Think of it like cooking. If your ingredients are clean and ready, your food tastes better. Same with embroidery.
Basic Idea of Machine Stitching
Machine stitching uses a digital file. This file tells the machine where to stitch, what color to use, and how tight the thread should be.
But here is the key point:
Machines do not understand photos or drawings directly.
They need a simplified version of your artwork.
That is why we prepare the design first.
Tools You May Need
You do not need many tools to start. Keep it simple.
Basic Tools List
Computer or Laptop
You need this to edit your artwork.
Simple Design Software
Even basic tools like free drawing apps can work.
Image Files
Use PNG, JPG, or simple sketches.
Embroidery Software (Optional)
This helps turn your design into stitch format later.
USB or Machine Connection
To transfer files to your embroidery machine.
Step-by-Step Guide to Prepare Artwork
Now let’s go step by step. Do not rush. Take your time with each part.
Step 1: Pick a Simple Image
Start with something simple. Do not pick a very detailed photo.
Good choices:
-
Logos
-
Cartoon shapes
-
Simple flowers
-
Basic text
Avoid:
-
Busy photos
-
Tiny details
-
Complex shading
Simple designs stitch better and faster.
Step 2: Clean Your Artwork
Now clean your image.
Remove:
-
Background noise
-
Extra lines
-
Shadows
-
Blurry parts
Make sure your design is clear and easy to see.
If your image is messy, your stitches will also look messy.
Step 3: Simplify the Shapes
This step is very important.
Machine stitching cannot handle too many small details. So you must simplify.
How to simplify:
-
Turn curves into smooth lines
-
Remove tiny objects
-
Keep bold shapes only
Think “less is more.” The simpler your design, the better it will stitch.
Step 4: Adjust Colors
Embroidery machines use thread colors, not digital colors.
So you must reduce color count.
Tips:
-
Use 3 to 6 colors only
-
Avoid gradients
-
Use flat colors
Too many colors make stitching slow and confusing.
Step 5: Check Size and Scale
Always check your design size.
Ask yourself:
-
Will this fit on fabric?
-
Is it too small for stitches?
-
Is it too big for the hoop?
A good size makes stitching smooth and clear.
Step 6: Convert to Stitch-Friendly Format
Now your design is clean and simple. Next step is conversion.
This is where your artwork becomes stitch ready.
You can use embroidery software to:
-
Trace shapes
-
Set stitch paths
-
Choose stitch types
This step turns your flat image into machine instructions.
Step 7: Run a Test Preview
Never skip this step.
Most software shows a preview of stitches.
Check:
-
Are lines smooth?
-
Are colors correct?
-
Does it look neat?
Fix mistakes before stitching on real fabric.
Common Mistakes Beginners Make
Many beginners make simple mistakes. You can avoid them easily.
Too Many Details
Small details do not show well in stitches.
Wrong Color Choices
Too many colors make design heavy.
Skipping Test Run
This can waste fabric and thread.
Using Low-Quality Images
Blurry images give bad stitch results.
Helpful Tips from Real Experience
These tips come from real practice and hands-on work.
Keep Designs Simple First
Start small. Build skill step by step.
Practice on Scrap Fabric
Do not use expensive fabric for first try.
Watch Stitch Behavior
See how thread moves. Learn from it.
Learn One Tool at a Time
Do not rush to learn everything at once.
This slow learning method builds strong skills.
How Professionals Work
Experts follow a clear process.
They never jump straight to stitching.
Their process:
-
Clean artwork first
-
Simplify design
-
Test digital preview
-
Adjust stitch density
-
Run sample stitch
This careful method reduces mistakes and improves quality.
That is why professional embroidery looks so clean and sharp.
Quality Check Before Final Stitch
Before you press start, do one last check.
Ask yourself:
-
Is the design simple enough?
-
Are edges clean?
-
Are colors limited?
-
Did I test preview?
If yes, then you are ready.
This step saves time and avoids waste.
Learning Takes Time
Do not worry if your first design is not perfect.
Every expert started as a beginner.
You will improve with practice. Each try will make you better.
The key is to keep going.
Small steps lead to big skill growth.
Final Thoughts
Preparing artwork for machine stitching is the most important step in embroidery. If your design is good, your final result will also be good.
Keep things simple. Clean your art. Reduce colors. And always test before stitching.
With time, you will feel more confident. You will start to see how simple shapes turn into beautiful thread art.
Stay patient. Practice often. And enjoy the process of creating something real from your ideas.